
A 6-Step Guide to Laying Paving Stones Yourself
/
Paving stones are a great addition to any landscape. They come in a variety of colours, textures, sizes, and patterns, and installing paving stones is something that most do-it-yourselfers can do.
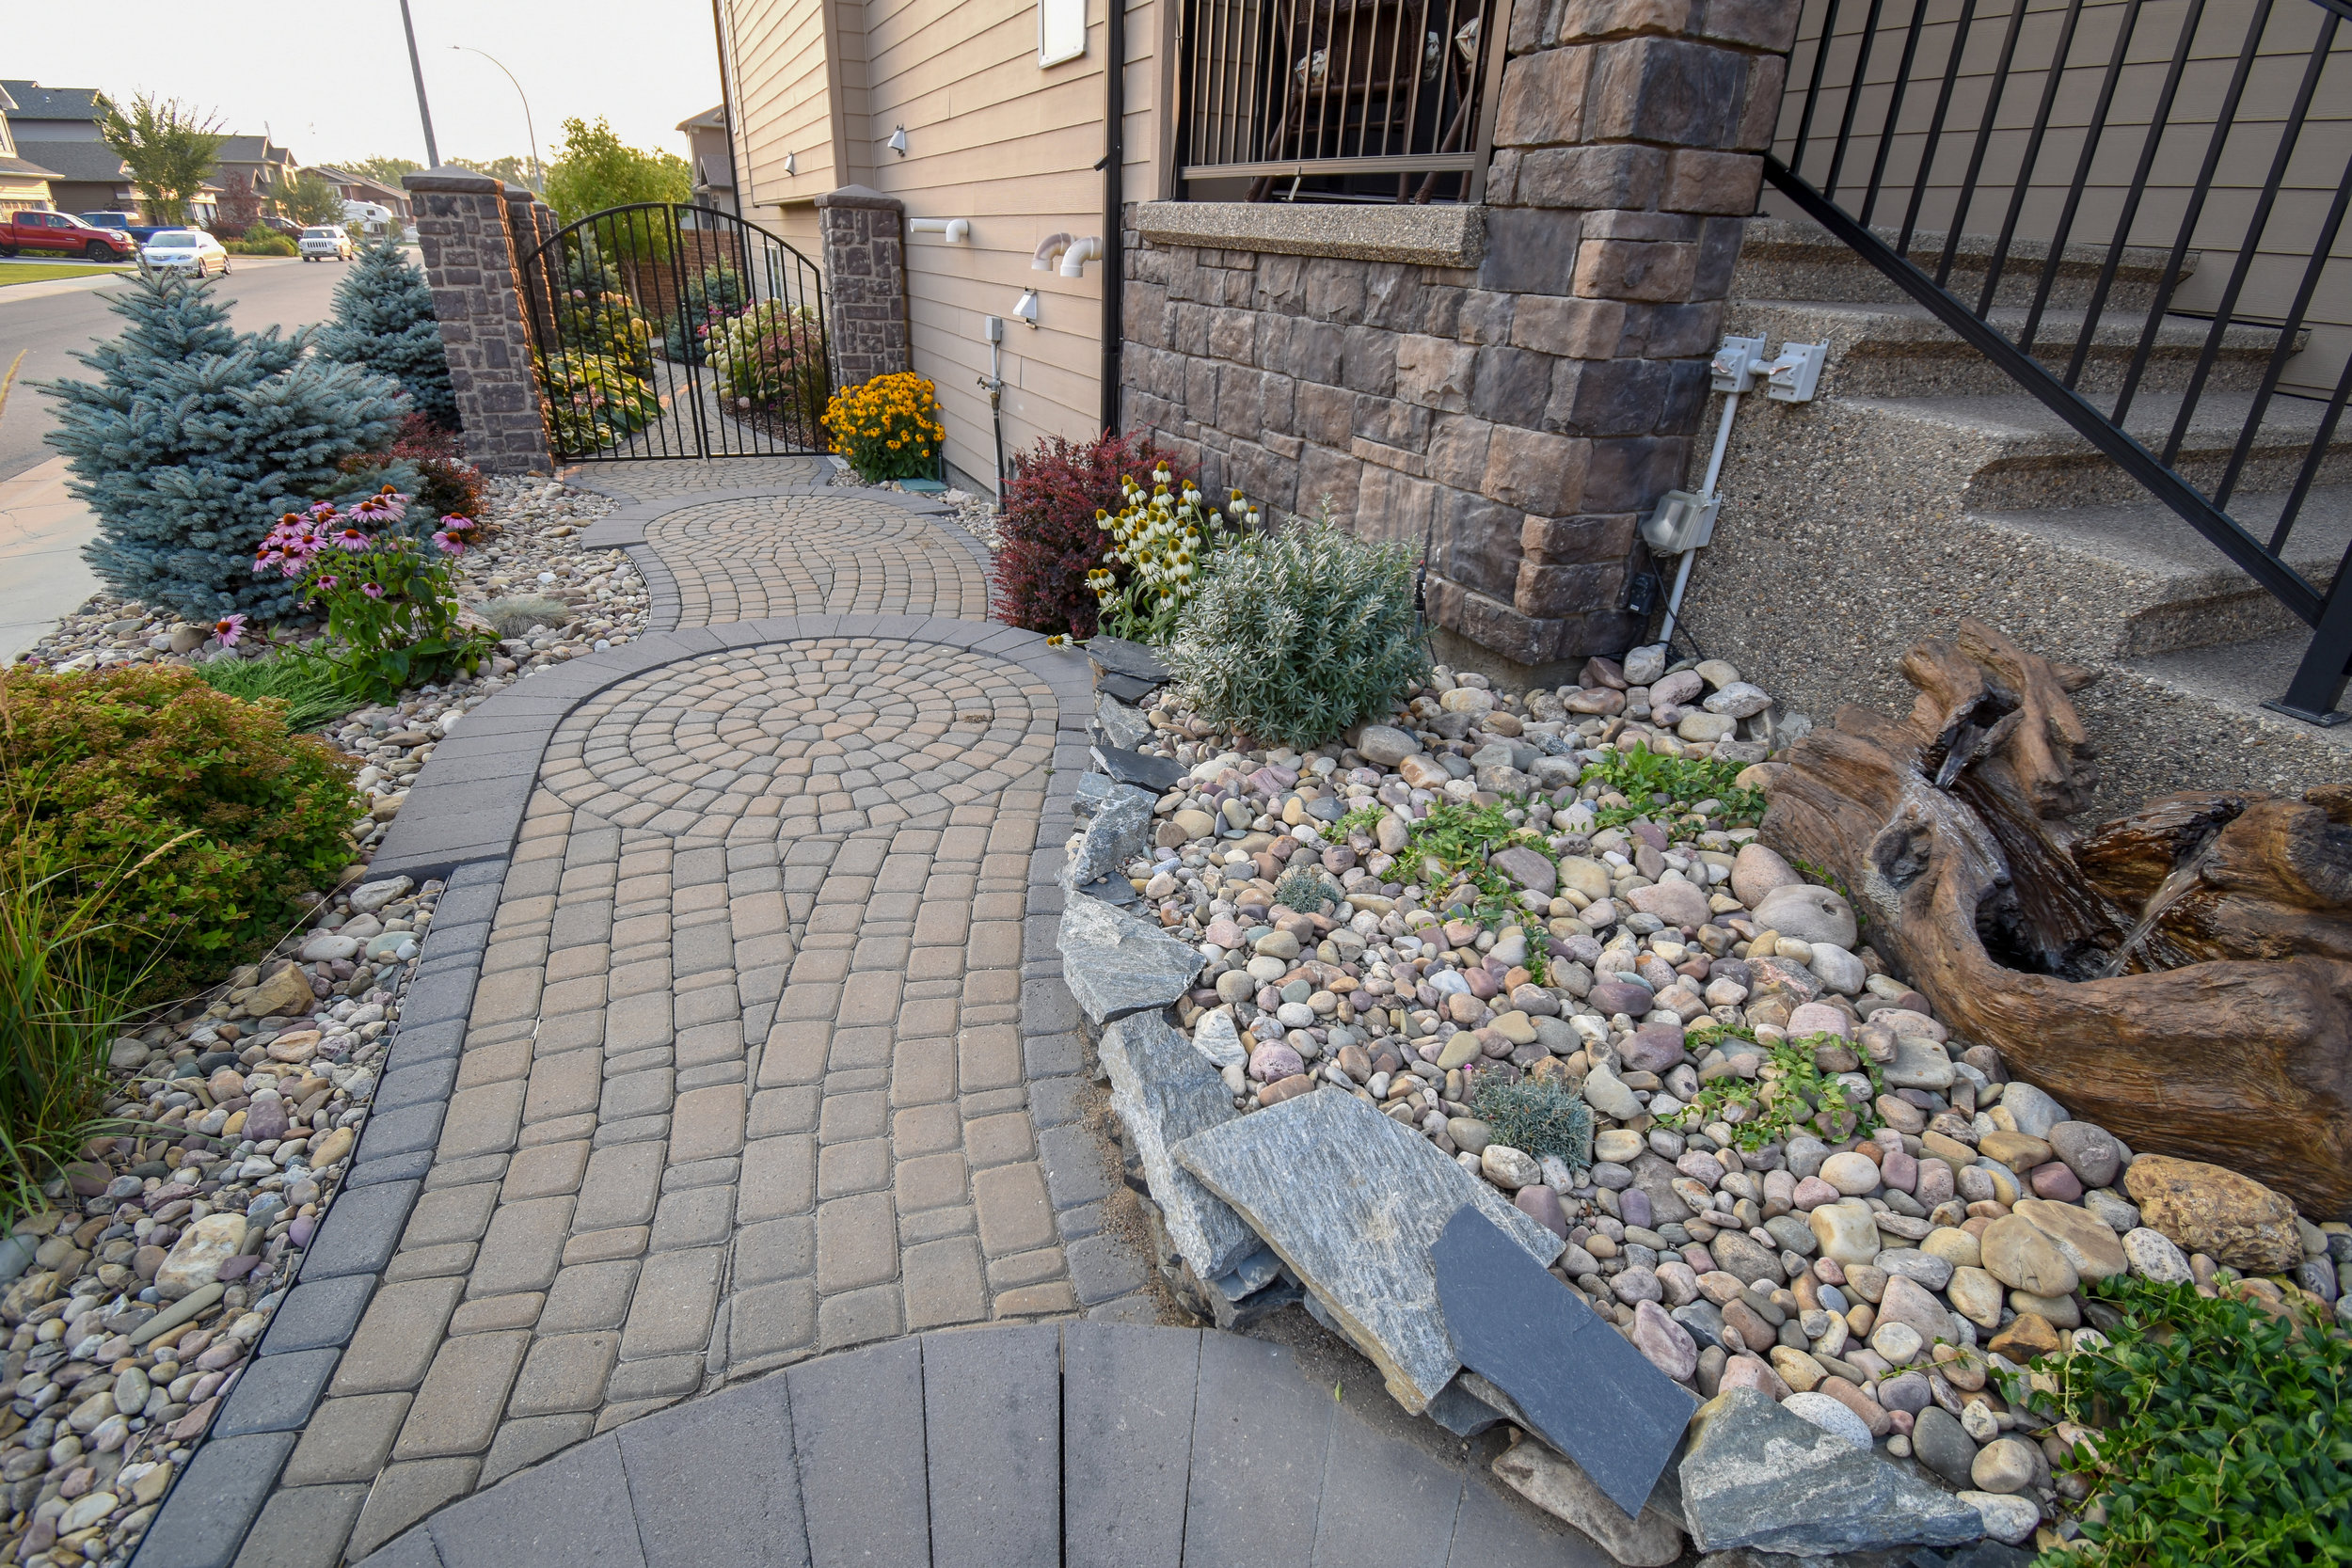
Paving stone allows for a lot of creativity in layout design
STEP 1: DETERMINE THE LAYOUT
Get creative with where you want to lay paving stones, whether it be a large patio or a winding pathway. Once you’ve determined the layout, mark the perimeter. Be sure to mark 4-6” beyond your paving stone’s edge to allow for additional base gravel necessary to secure your edging restraint. Using string lines and garden hoses to mark edges of the paving stone will help you visualize shapes better.
STEP 2: PREPARE THE BASE
Now that you know where to dig, begin removing the grass and soil from your work area. For pedestrian traffic, the area should be excavated about 8-9 inches from finished grade, which will allow enough room for about 5 inches of road crush (base gravel). Ensure that the base gravel is packed in layers suitable for the size of plate tamper you are using. When using standard paving stone (2⅜” thick), the final height of road crush should be 3.5 inches below finished grade.
STEP 3: ADD BEDDING SAND
After the road crush has been laid and packed, spread a layer of sand over top that will become the bedding sand for the paving stone. Often, we like to use 1-inch square tubing embedded in the sand to help us establish our elevations/heights. For most paving stone, keep the height of the stone a half-inch higher than finished grade to allow for final plate tamping after the stone has been laid. With the bars set, screed across them with a 2x4 to create an even surface. Walk over or pat down the sand to ensure it’s a consistent density, then screed a second, final time after which you can carefully remove the 1-inch tubing. Removing the tubing will leave a channel, but that’s not a problem; simply fill in and smooth over the channels with a trowel until you’re left with a nice level surface.

Screed the bedding sand with a 2x4 across square tubing
Remove the Square Tubing

fill the channel with more sand and smooth over with a trowel
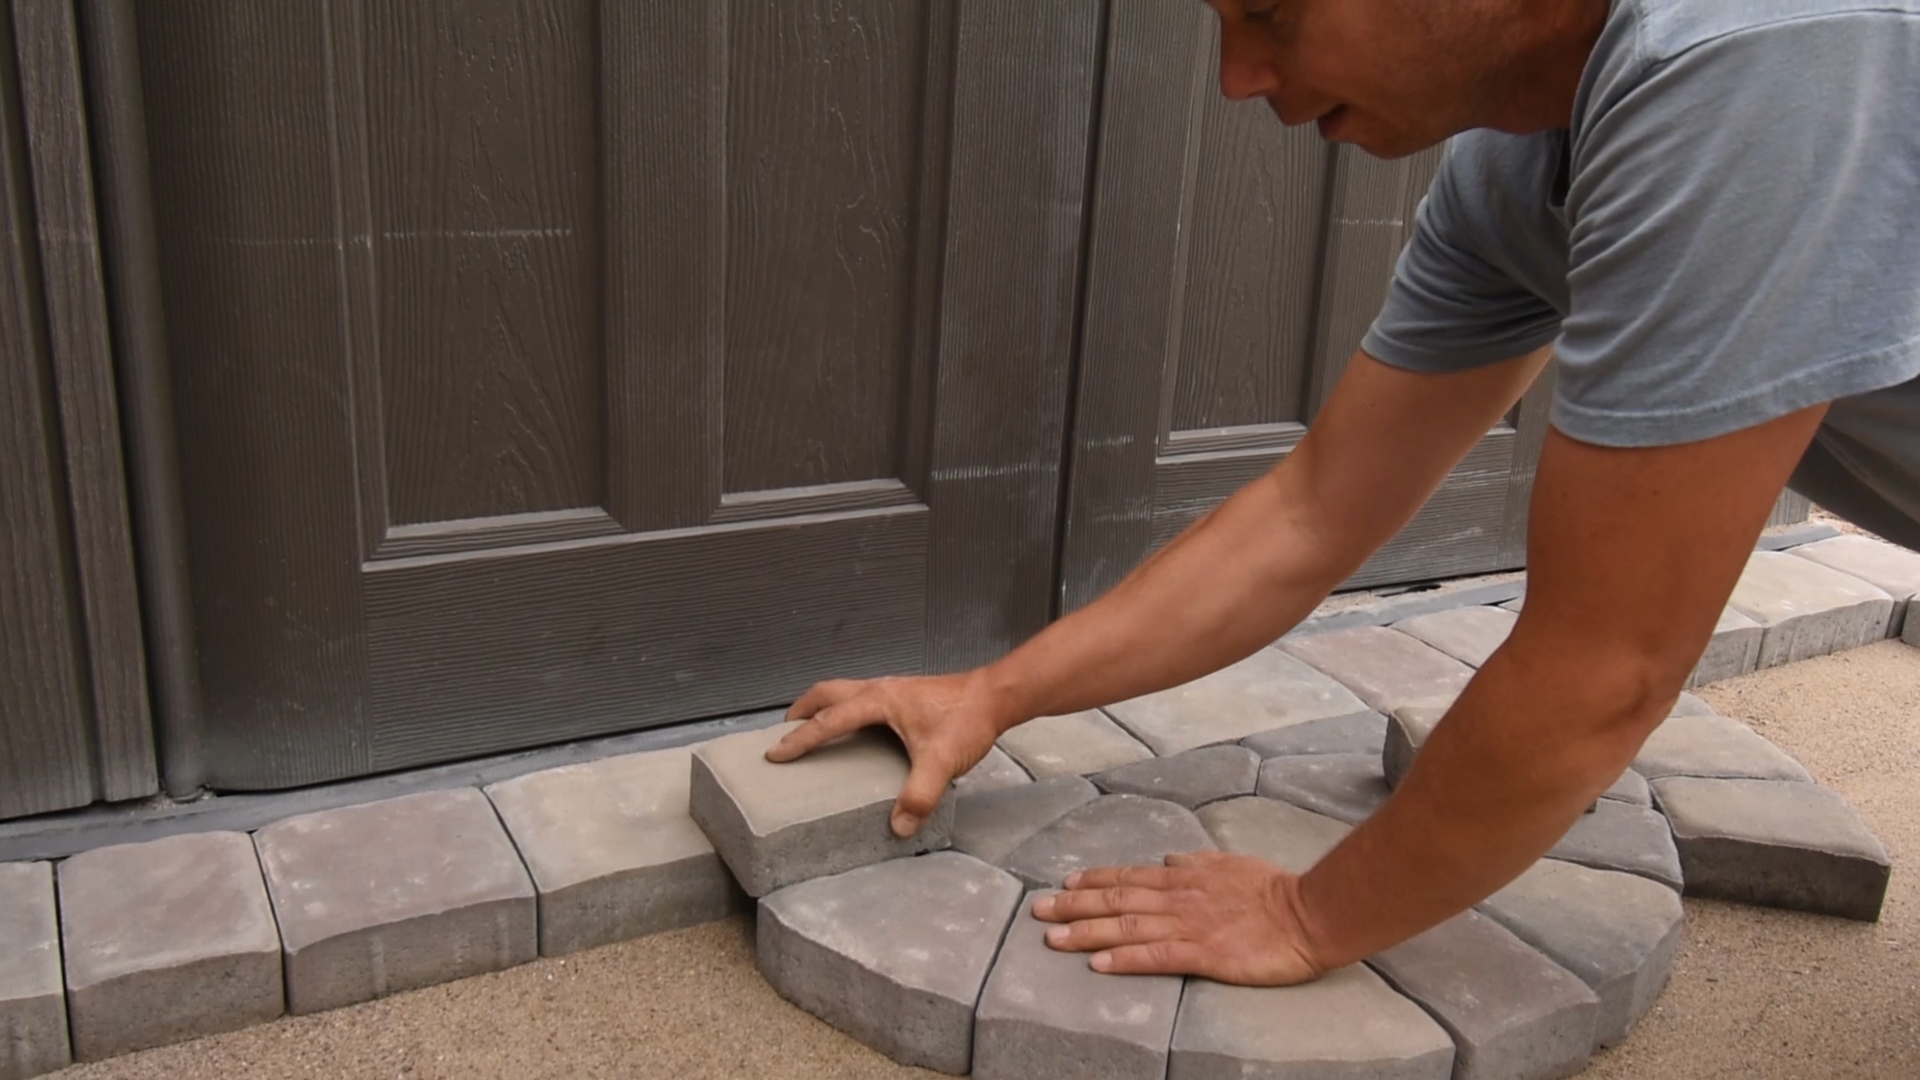
STEP 4: CREATE YOUR PATTERN
When creating your pattern, lay the pavers snuggly side by side. It’s important not to set or push the paving stones into the sand — you’re going to let the plate tamper do that later. The type of paving stone and pattern will determine where you’ll want to begin laying the brick, always trying to keep cuts to a minimum. With some installations, you may be creating or following a pattern. At our landscape centre, we can help with patterns and provide the necessary literature to help guide you.

Just lay the pavers gently without twisting or pushing into the sand
STEP 5: JOINTING
It’s important to use a jointing material to finish your paving stone. Depending on the application, you may choose to use a regular fine sand or polymeric jointing sand that will harden after activation but remain flexible. When using polymeric sand, follow the product instructions closely!
STEP 6: TAMP THE AREA
Use a plate compactor to tamp the area. You can use a hand tamper for smaller areas, but a plate compactor makes the job much easier. The plate tamper will push the paving stone into the bedding sand while also vibrating the jointing material into the cracks. If you’re installing paving stone with textured tops, a plate tamper with a protective mat underneath may be required.
And that’s paving stone installation in a nutshell. If you have any questions or need ideas, come to our landscape centre where we’ll show you our paving stone selection and all our accessories. We’ve been installing paving stone for over 30 years now, so we know what we’re talking about!


