How to build steps with retaining wall blocks
/
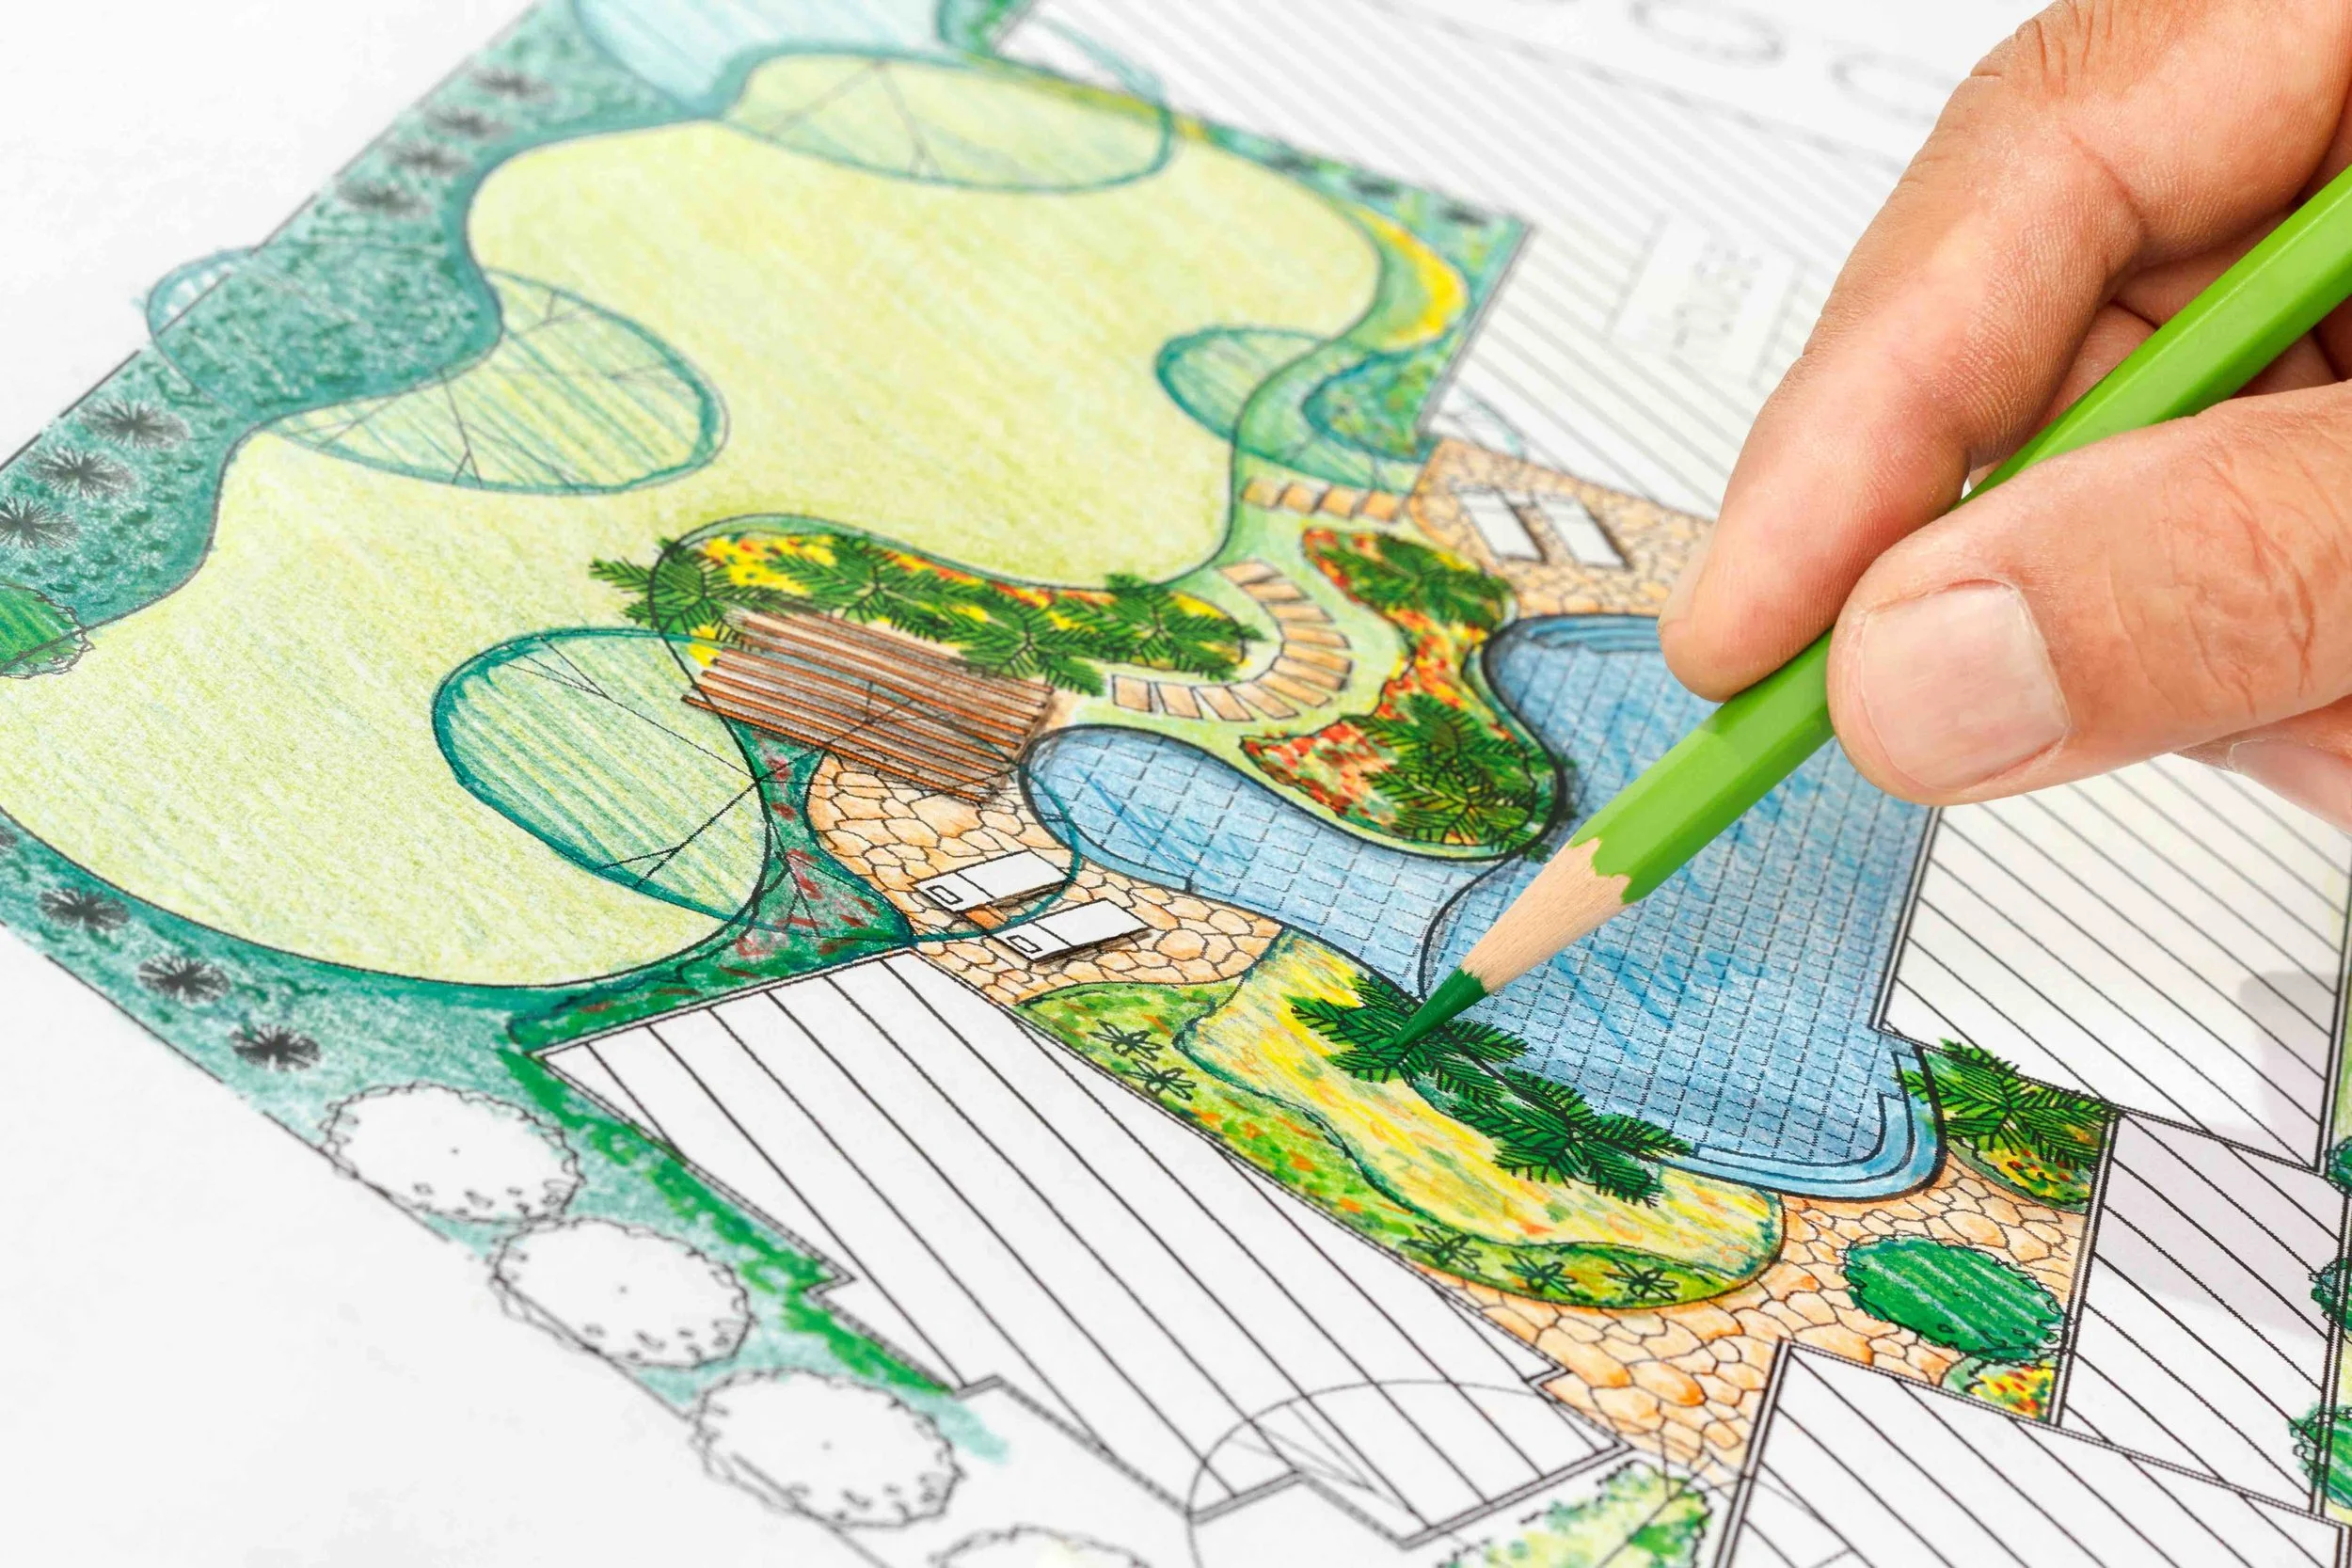
Adding steps to a garden or backyard is a great alternative to sloping paths. The added bonus? You can install steps yourself! Follow this guide to create steps using retaining wall blocks.
Before you begin, plan the shape for the stair-set, as well as the elevation for each step. (A maximum 6” - 7” rise is best for a comfortable, accessible step up and down.) Once you’ve finalized the shape and rise, start building!
Task 1: Excavate and prepare base
Dig a trench slightly wider than your blocks, and roughly 6” to 8” deeper than the height of your blocks. Installing blocks 2” to 3” below ground-level will prevent them from shifting.
Pack the bottom of the trench (the subgrade) to level it. Add ¾” road crush as a base gravel, then level and pack again.
Continue adding gravel, leveling and packing until you have an even, level base to work with. Remember to leave room a 1” to 1.5” layer of sand on top of the gravel.

A well-prepared base is essential for long-lasting, great-looking steps.
Task 2: Screed and add sand
Adding sand makes brick placement easier. Think about adjusting and leveling into gravel, and you may see what we mean.
We use screeding bars, (1” square tubing), to create a level, 1” base of sand. You can use anything you have on hand, as long as it’s got a straight edge.
Place a screeding bar on the gravel base and adjust. Add bars parallel to the first bar, like rungs of a ladder, creating sections to fill with sand.
Add a layer of sand over the gravel and screeding bars. Use a piece of wood, (or something similar), as a leveler. Pull toward you, so the tops of the screeding bars are visible, creating smooth the surface and scraping away excess sand.
Pack the sand lightly with your feet or hands, then screed again. Continue to pack and screed the surface is completely level.
Remove the screeding bars, add sand to the empty screeding bar spaces, pack and smooth once more.

the hilgersom team uses blue 1” square tube screeding bars. we can SPOT AND remove them EASILY AFTER LEVELING.
Step 3: Lay the blocks
Before laying your first block, draw a guideline in the sand. Place the face of each block along this line. With guides, your blocks will fit together properly, so you’ll spend less time adjusting later.
Some blocks have locking mechanisms that show from underneath. To hide them, remove a bit of sand from under the locking mechanism. Later, during the leveling process, those locking pieces will settle into the sand-free space and get covered over.
Do not slide blocks onto sand! Set them down directly, gently scraping the sides of the blocks you laid immediately before.

Draw a guideline in THE sand FOR straight steps.
Step 4: Adjust the blocks
Once you’ve set your blocks, make adjustments using a level and a rubber mallet. Ensure blocks lay flat from side-to-side and front-to-back. Level high spots by tapping them with the mallet.

adjust and level for perfect stairs!
Step 5: Place the caps
Once your first course of blocks is level and dust-free, lay the caps on top of the blocks. Do not use adhesive yet!
Dry-fit before gluing, to ensure the right fit and placement.
You may need to cut caps down using a diamond saw-blade, depending on the shape and length of your blocks
Maintain a stagger! The ends of the caps should not line up with the ends of the blocks beneath them.

Don't forget to stagger the joints.
Step 6: Glue the caps
Remove the dry-fit caps and keep them in order. Sweep dust and debris away from the course of blocks below, and plop two or three generous beads of landscape adhesive on top. Stay at least a couple of inches from the front edge to prevent glue from squishing out.
Place caps on block tops in the same order as the dry-fit. Ensure caps are in line with each other.
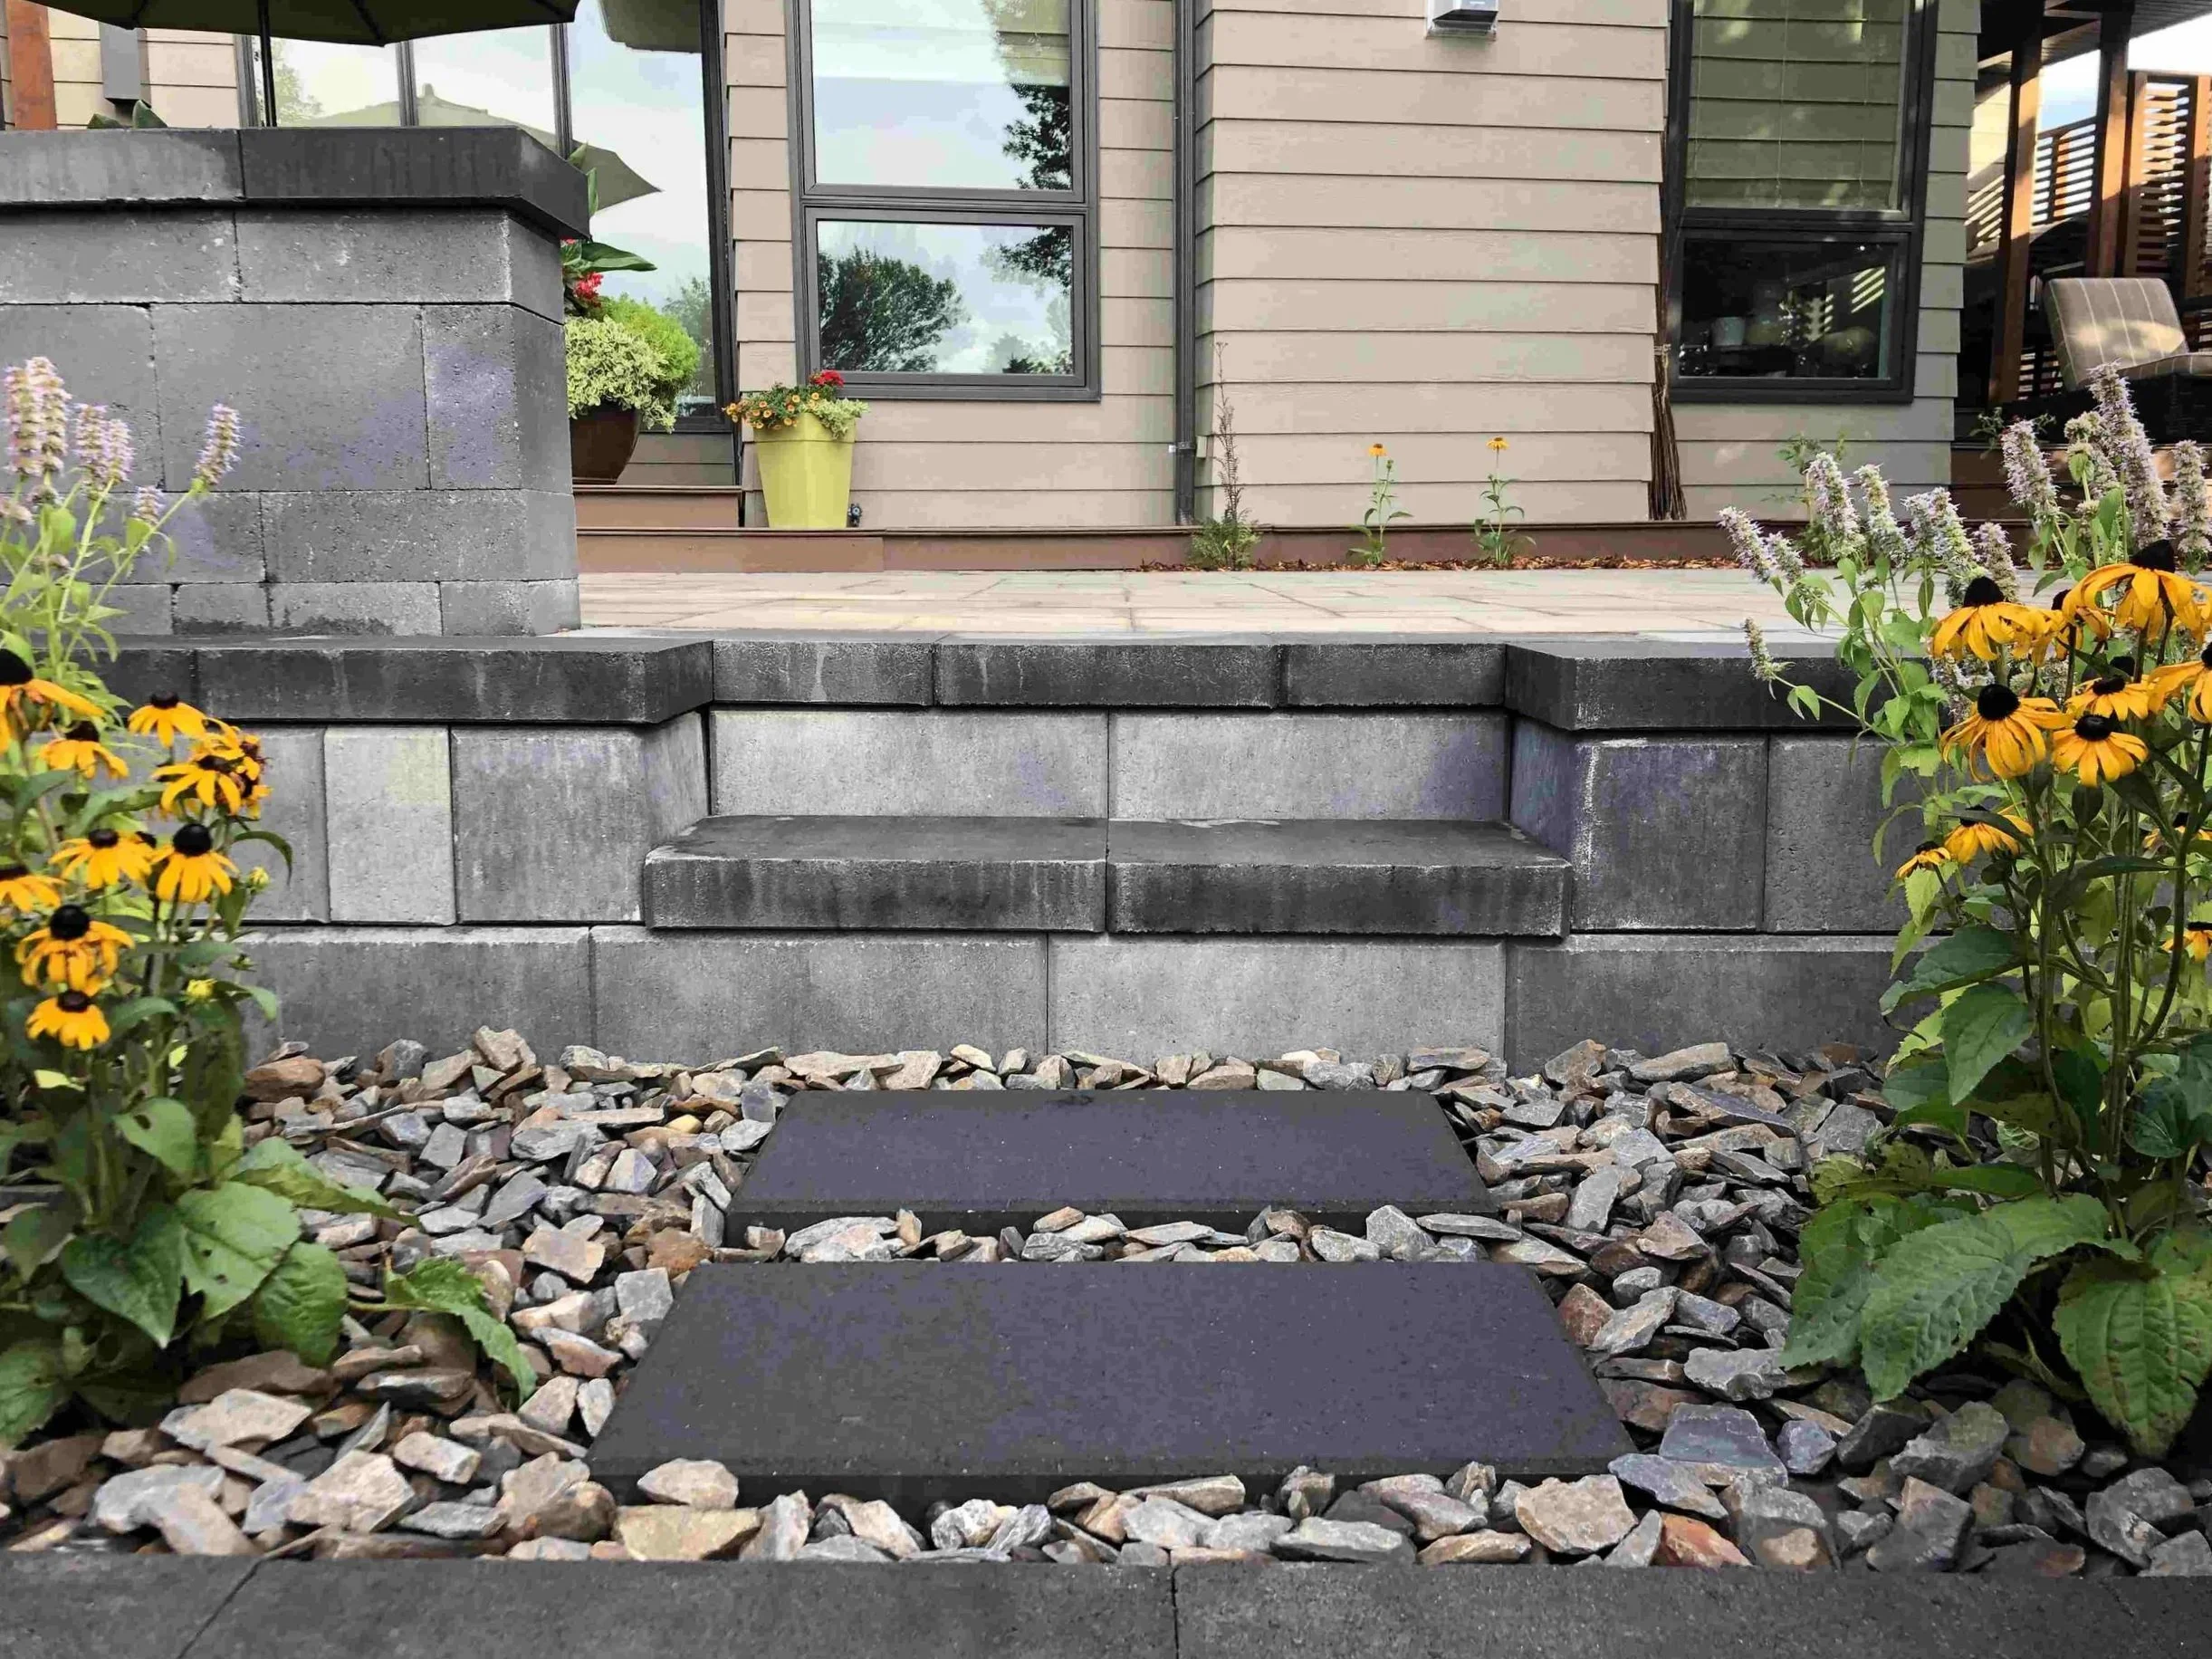
Let the adhesive cure for at least an hour, depending on weather, before using your new steps.
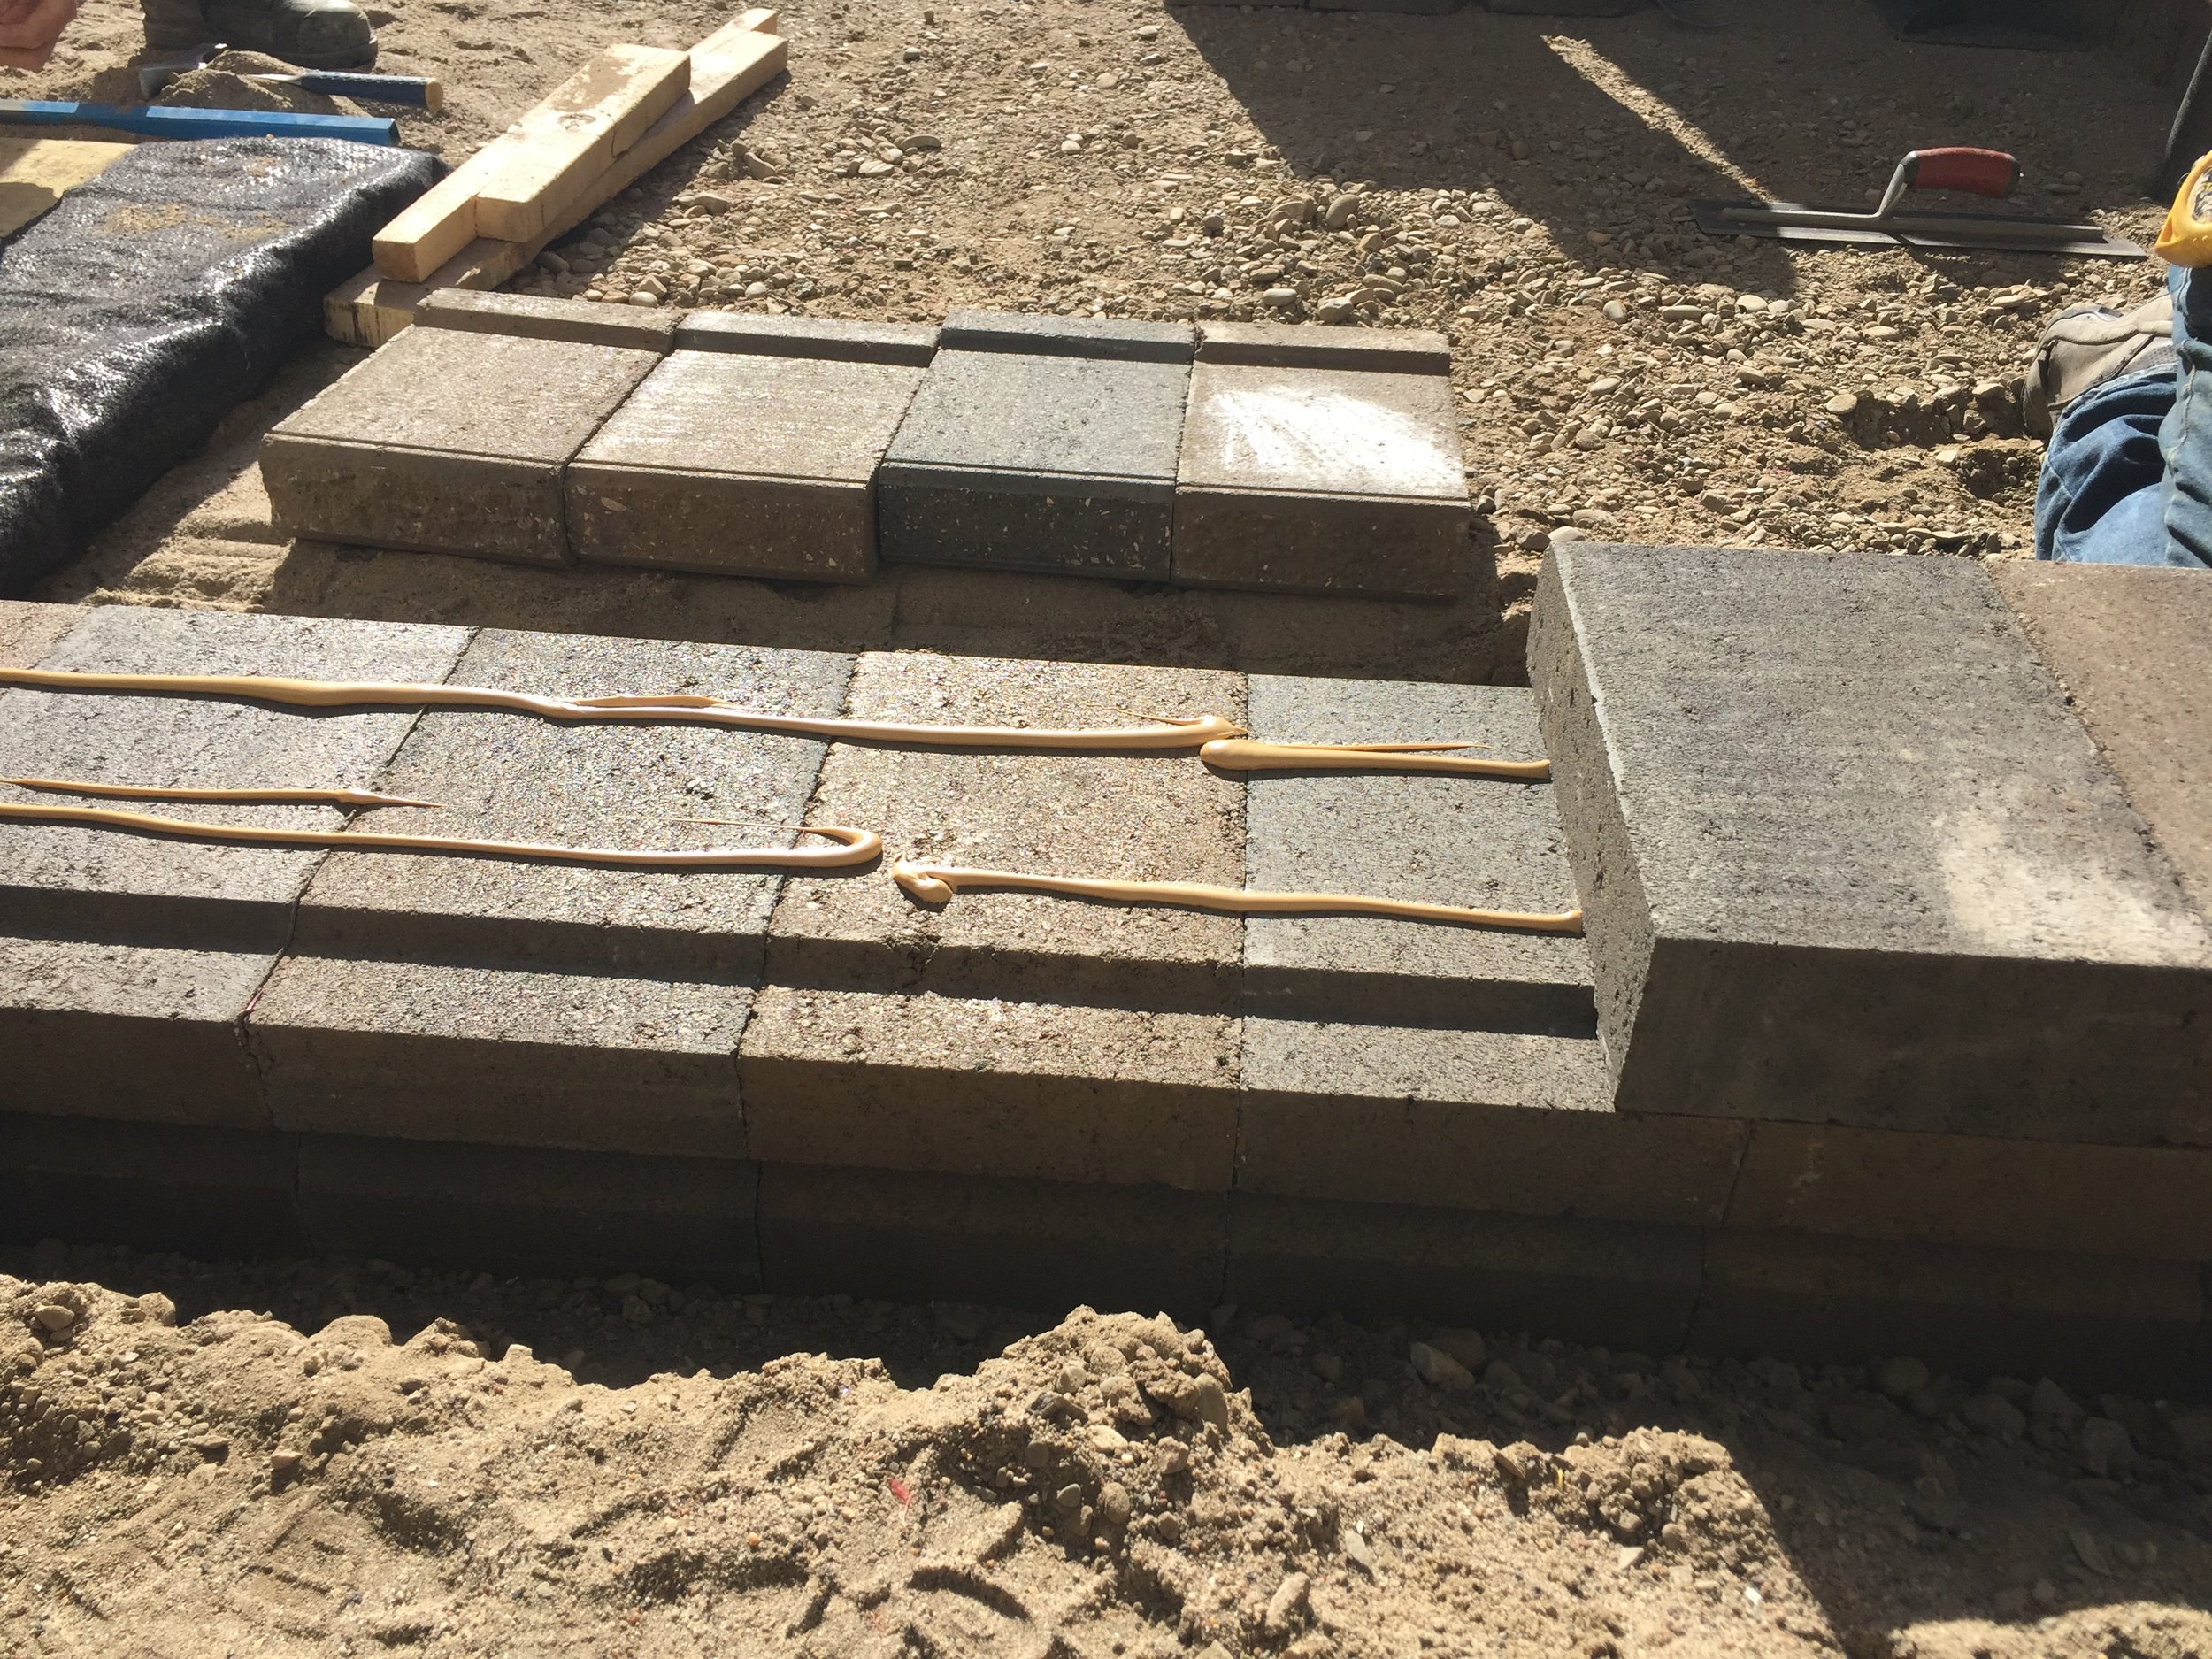
Sweep debris off blocks before gluing caps on.
Step 7: Prep for next blocks
Now, prepare the base gravel for the next set of steps. Fill any spaces between the blocks of the step below and the base you’re prepping using wet sand, geotextiles, or landscape fabric. (This is especially important with a curved set of steps!)
Backfill the prepped base with gravel. Hand tamp the gravel into a thin layer to compact it well. Add gravel as needed based on block dimensions, as well as room for another 1 - 1.5” layer of sand.

Backfill and prepare for the next course of steps.
Step 8: Repeat!
For your next course of blocks, repeat tasks 1 - 7 until you’ve completed your new set of steps!

Repeat as many times as necessary to create your steps!